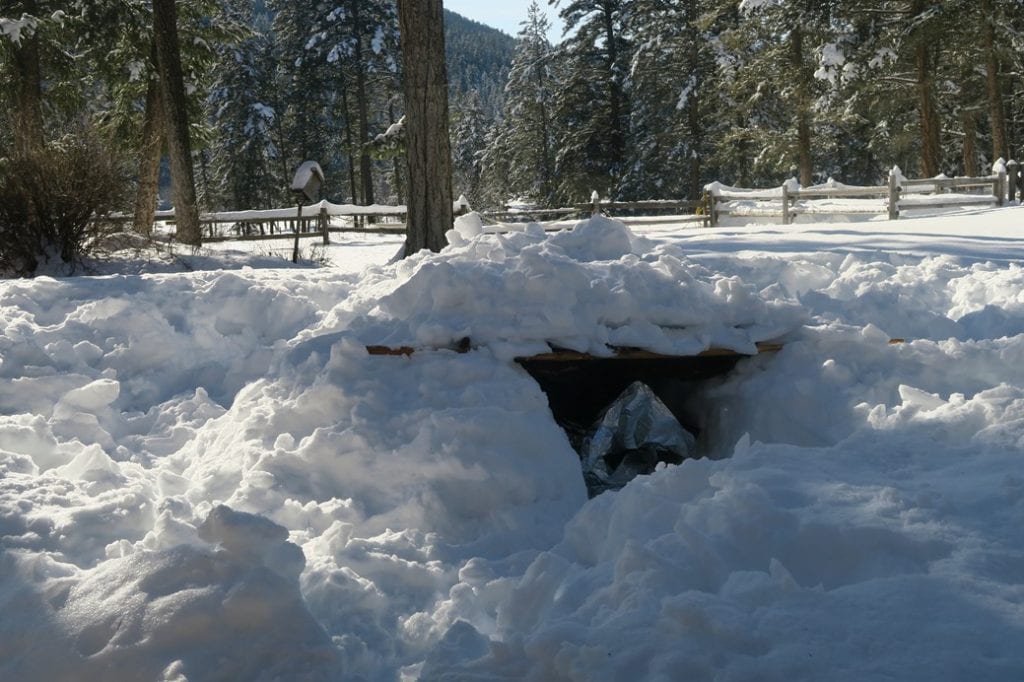
Why Build a Snow Trench Shelter?
Imagine you are out for a snowshoe or a backcountry ski, and you get lost, or a storm makes travel too dangerous, or your friend gets injured. You need a shelter, and fast. Luckily for you, you are surrounded by one of nature’s most convenient building materials.
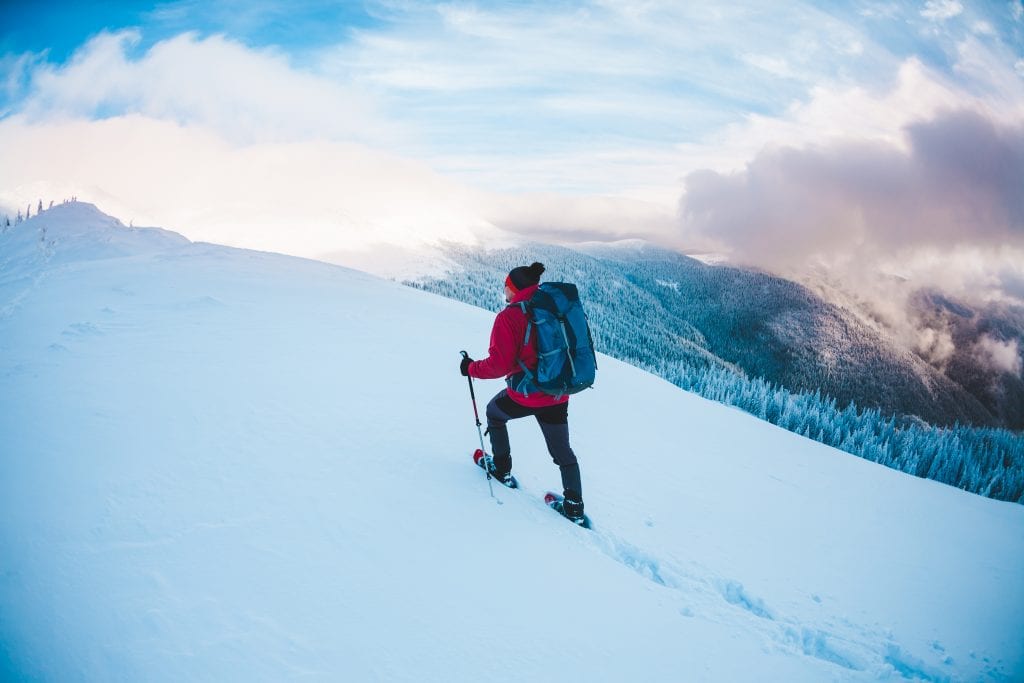
Contrary to what your instincts might tell you, snow is a excellent insulator. While a snow shelter isn’t likely to get much warmer than 0° c, it probably beats whatever winter weather you are trying to hide from. Snow and ice shelters such as quinzhees, snow caves, and igloos have been used for millennia, and be rather roomy comfortable, but they also take a lot of time and energy to build.
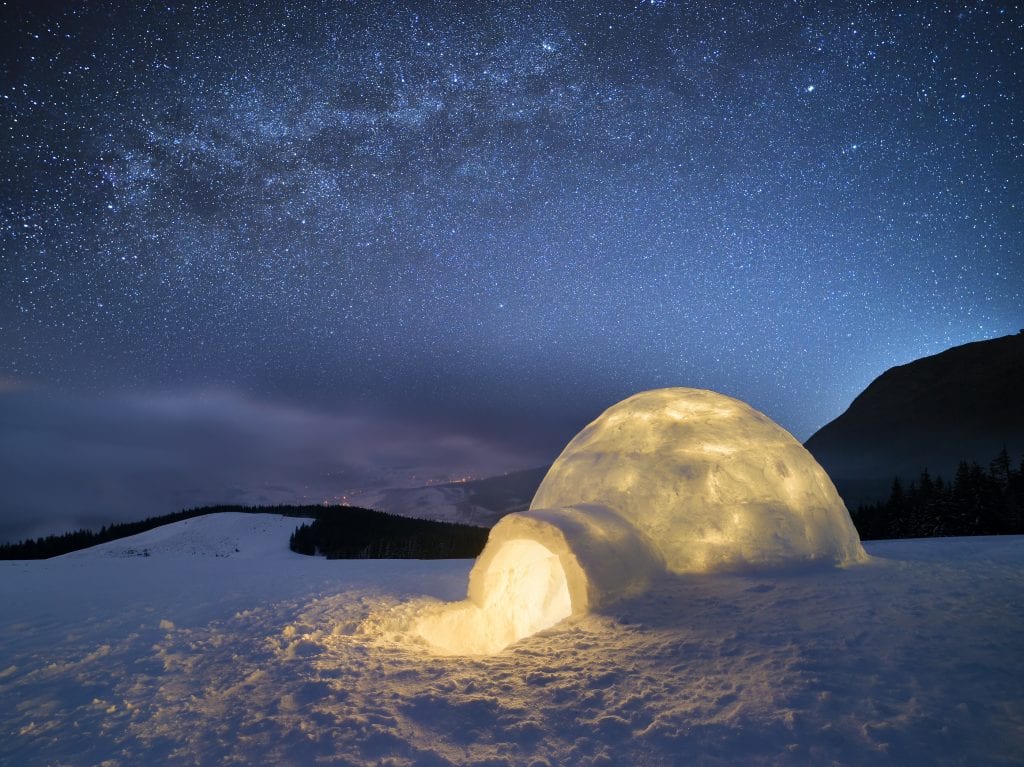
Trench shelters are quick, effective, and can be built in many different snow conditions. They are not, however, very comfortable. If you have plans to stay overnight in a snow shelter for fun, I would recommend a snow cave or a quinzhee (see video below for how to build a quinzhee). With the right tools in your emergency kit, and maybe a little practice, a snow trench shelter should take less than an hour to build.
Some Helpful Tools
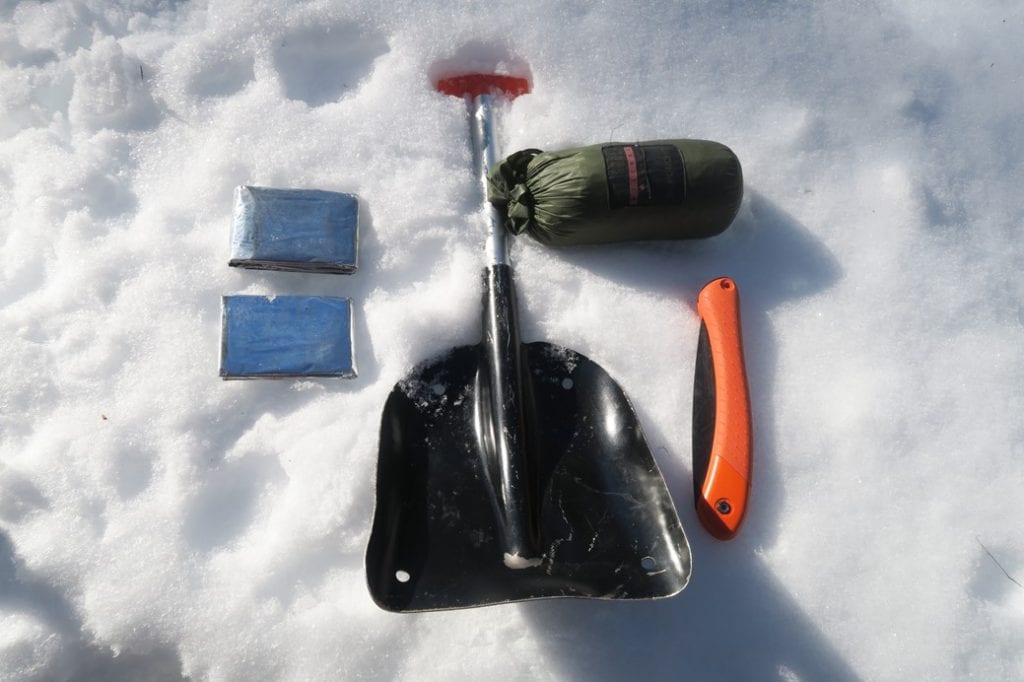
Mylar emergency blanket: I like to carry at least two with me, even in the summer. When wrapped around you, they will reflect your own body heat, preventing loss of precious heat. They can also be used to reflect heat from your fire, or can line the roof, walls, or floor of an emergency shelter. If you want to get creative, add tarp, signal, and fishing lures to a mylar blanket’s possible uses
Folding saw: This is a great addition to a winter emergency kit. Wood for making fires and shelters can be tricky since most of the dead wood is under the snow, and a saw makes collecting it a lot easier. You can make a trench shelter without branches, but they make building the roof and insulating the floor a lot easier.
Collapsible shovel: A shovel is a safety essential of you travel in avalanche terrain, but it can come in handy for any snow travel. I use mine to build a trench or a wall to protect myself from wind while I eat or rest. If you don’t have a shovel, bare in mind that it is important keep your hands warm and dry in a winter survival situation, so try to find something besides your hands to dig with, like a snowshoe.
Tarp: I carry a silicon 5’ x 7 poncho/tarp. A cheap alternative is to pack along one or two big, heavy duty garbage bag. An extra mylar emergency blanket could work too, though they aren’t particularly durable and could tear on a branch.
Get Building!
Step 1- Choose you Location
Choose where you want your entrance and what direction you want to lie. While sleeping with your feet close to entrance may keep you warmer, it will make for a slow exit if you need to get out quickly, so plan for your head to be near the entrance. You’ll want your entrance facing downwind, so take note of where any wind is coming from. A slight hill can make digging easier if the snow is deeper than six feet or so. Otherwise, find a level spot.
Step 2 – Break ground, err, snow
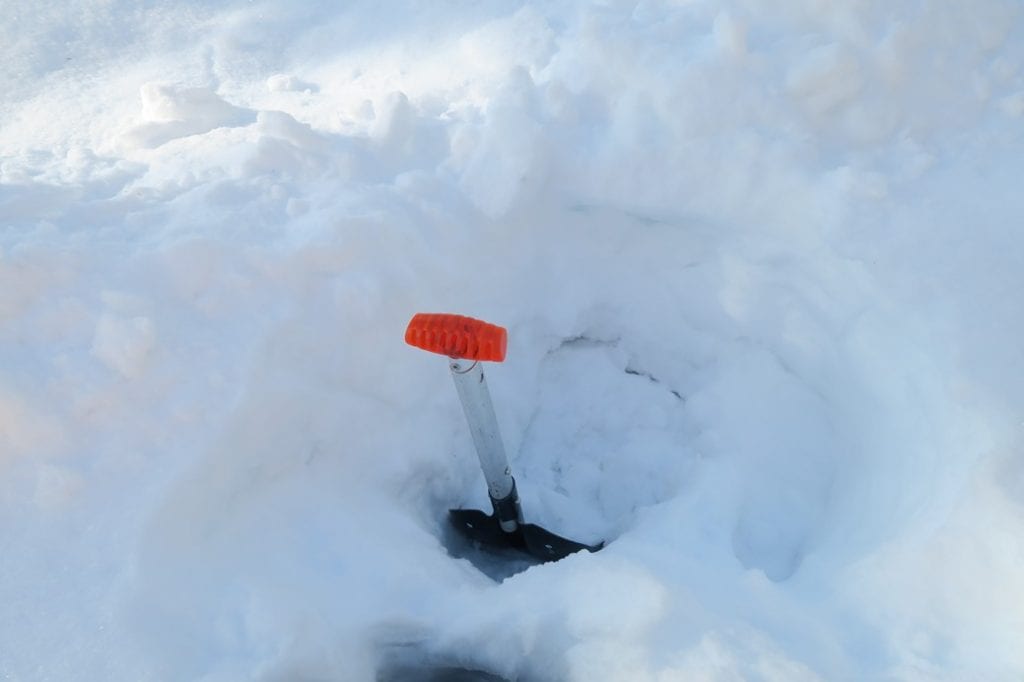
Dig a three foot hole where you want your entrance to be. Ground is a lot warmer than snow, so dig to the ground of you can.
Step 3 – Dig your trench
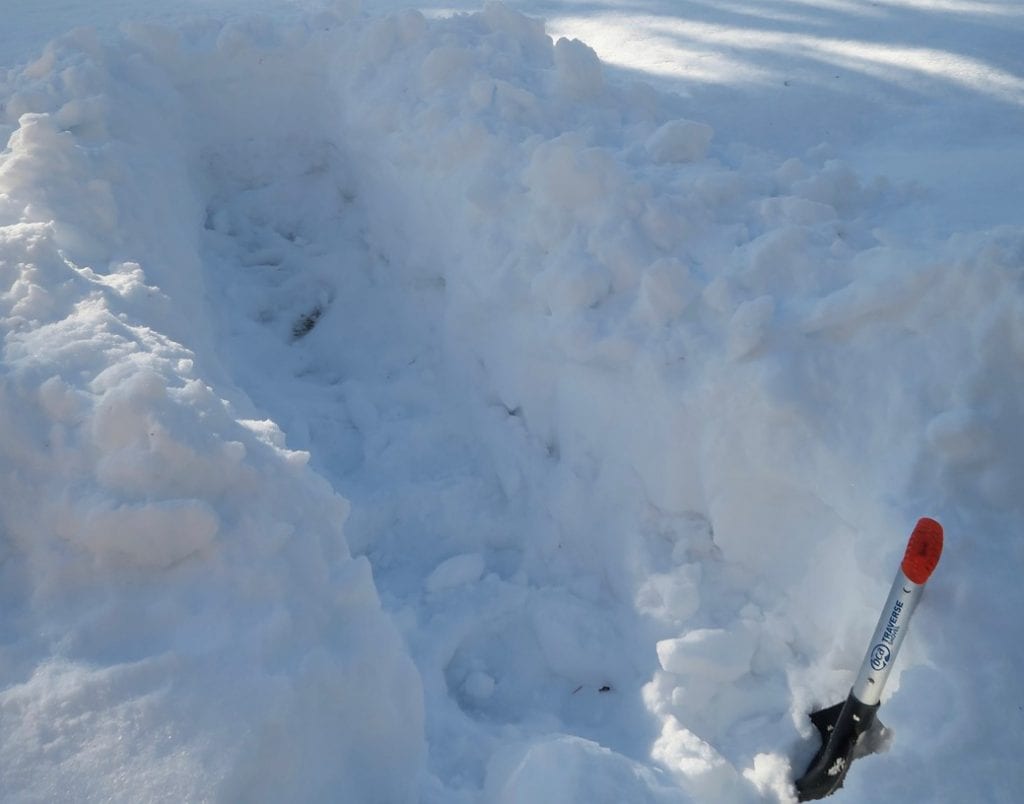
Now that you’ve gotten the right depth, it’s time to dig out the trench. It’s going to be up to your body to heat that space, so the smaller the better. Make it a little wider than shoulder width and around two feet longer than you body.
Pile snow up on the sides to make it a little taller (especially if the snow is less than three feet deep). If you have enough snow, pile it around the entrance as a windbreak too. If you get any big snow or ice chunks put them aside.
Step 4 – Lay the framework
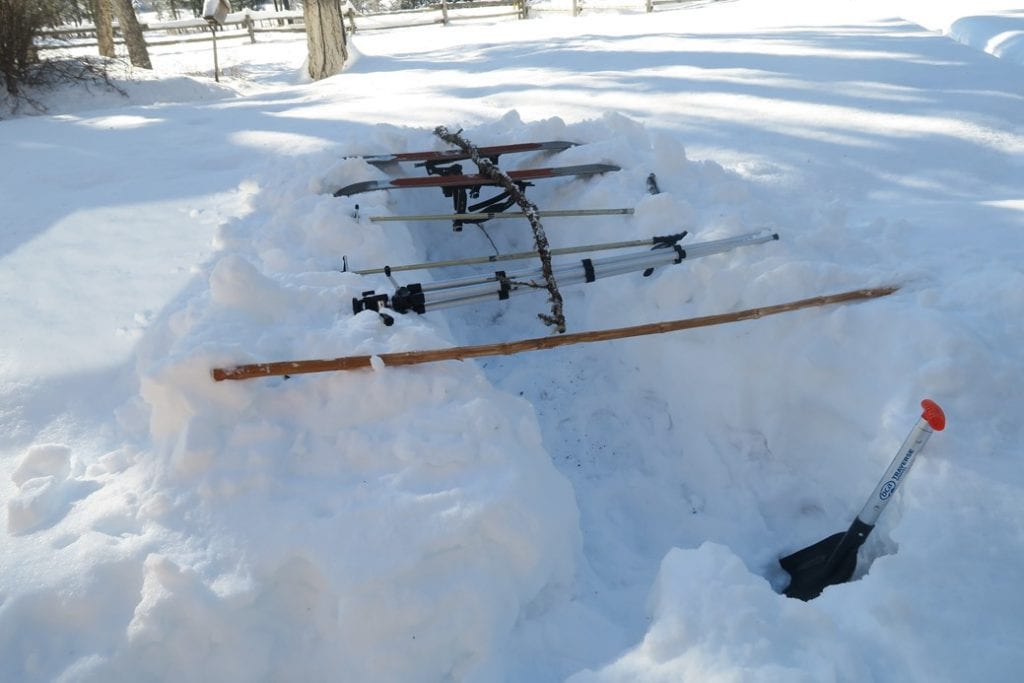
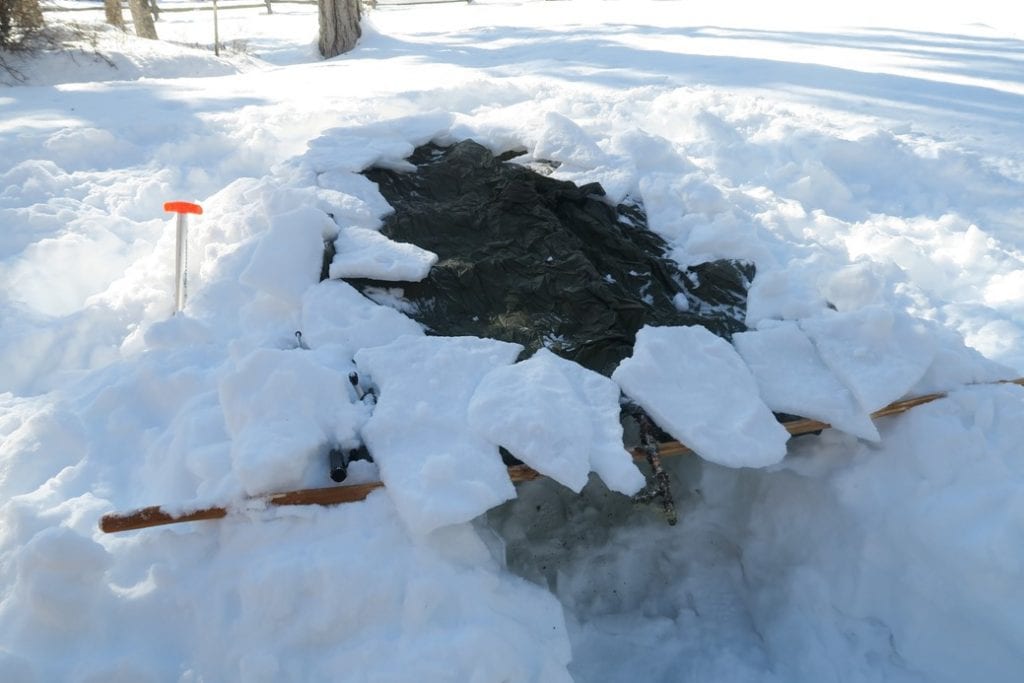
Skis and ski poles make fantastic roofs, but even with them, extra branches will make it more stable and easy to work with. The important part here is to work with what you have or what you can find.
Step 5 – Lay down the tarp
If you have an extra emergency blanket, it could be a great addition here. Lay it down first. Try to spread your tarp so that the edges touch all the sides and secure it in place with anything you can find with weight; branches, ice blocks or packed snow will all work.
Step 6 – Bury it
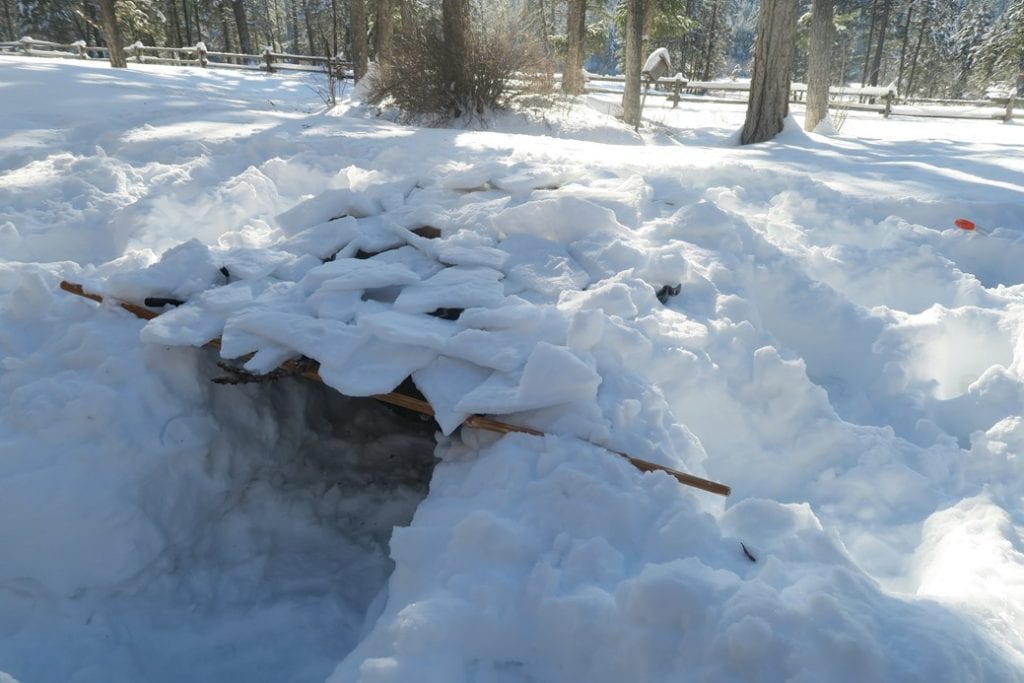
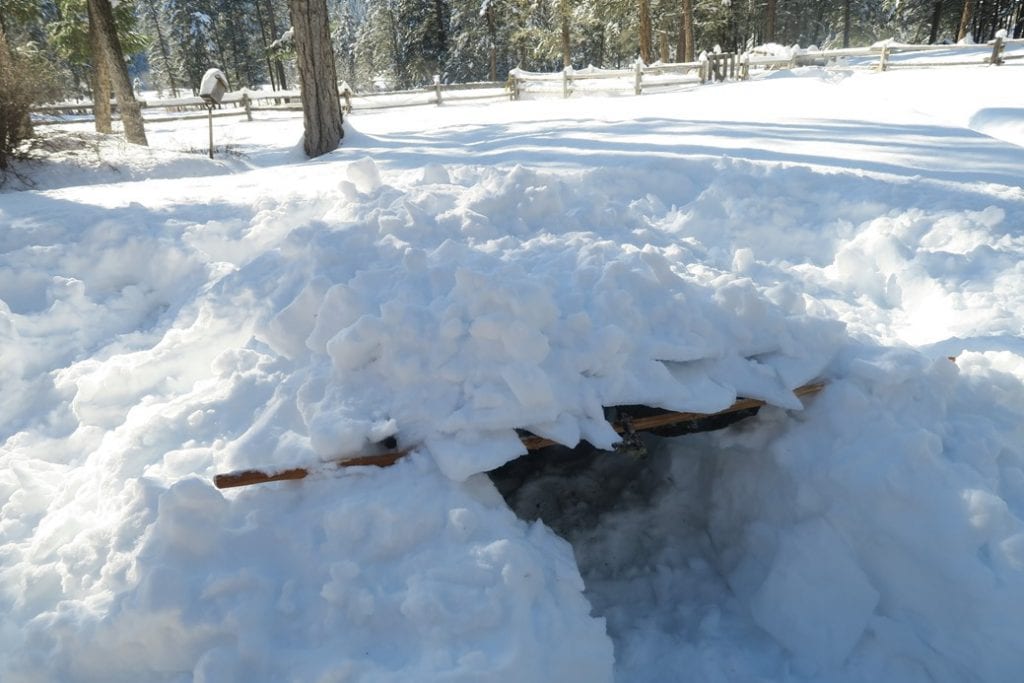
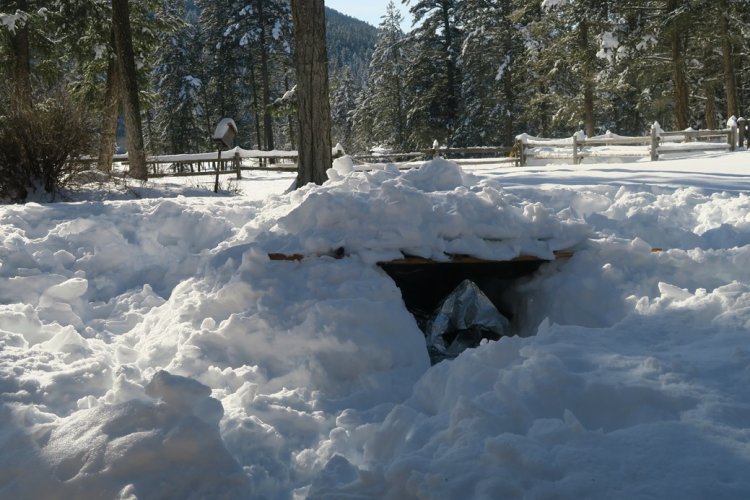
Fluffy snow provides the best insulation, but use what you have. When I was building this trench shelter, I found a good ice layer, so I balanced them on my frame until the gaps were filled in, and then buried it in fluffier snow.
Step 7 – Add an air hole
Add a vent hole at the end or your trench by poking a stick under the tarp and wiggling it until it’s a inch or so in diameter. The entrance will probably provide enough air, but an extra hole for ventilation is still a good idea.
Step 8 – Insulate the floor
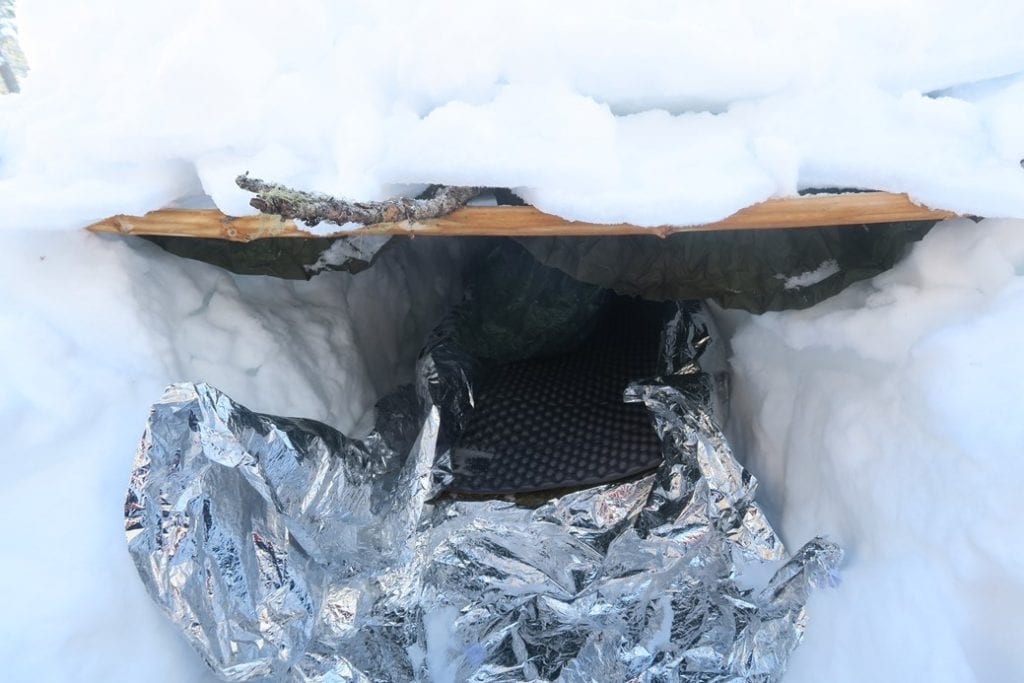
It may seem like it would make more sense to put the floor down before the roof, but roof building knocks down a lot of snow, so you’d likely find yourself rebuilding the floor anyway. Lay down green fir or spruce bows, or whatever you can possibly find to add space between you and the snowy floor. I used a sleeping mat for this shelter because I didn’t want to damage the trees in my yard. After the snow is totally covered, lay down your emergency blanket. It works best with some space between you body and the blanket, so add another layer of branches. They will also help the blanket stay in place.
Step 9 – Get cozy
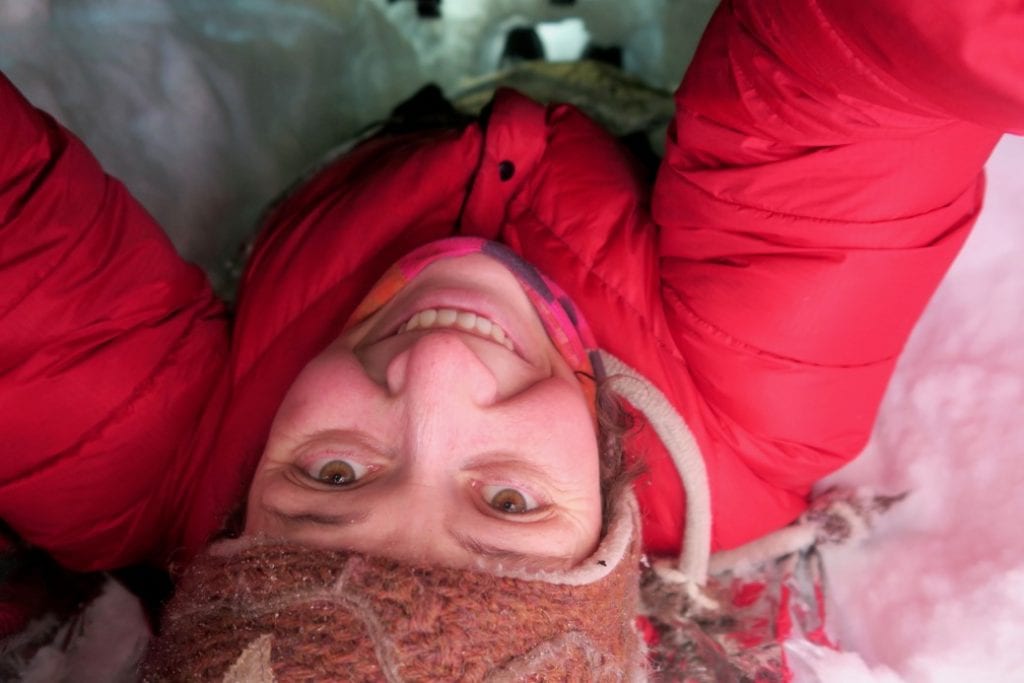
Crawl in and fold any of the rest of the emergency blanket over you. If you have an extra, and it’s not in the roof, you can out it on top of you. Move you pack, or whatever else you can find, into the doorway to block the wind. Don’t make it airtight though; you need oxygen.
Never place the emergency blanket over your head. At worst, it could this cause suffocation; at best, it will cause moisture buildup that will keep you cold.
Some final thoughts
This could be modified for two people by making it wider, but still keep it as small as possible.. The closer you are to your friend, the warmer the both of you will stay.
As I mentioned, this is not a comfortable shelter. It’s hard to move around, or get in and out. Being alone in the dark, in a confined space, buried in snow is not something that I imagine a lot of people enjoying. Trench shelters do, however, get you our of the elements and give you something warm to lie on.
Another thing to remember is that no shelter will ever be the same. It will always depend on what you have with you, what your needs are, and what you can get from the environment. If you go into the backcountry in deep snow, it is definitely worth it to practice building snow trench shelters with the supplies you carry. The more you practice, the faster you will be, and the more ready you will be to improvise if need be.
Oh, and those mylar emergency blankets will never fold up again, so buy a few to practice with.
Watch Carley’s short videos on this subject:
How to Build a Snow Trench Shelter
So regarding get a suitable uk tadalafil Propecia lawyer, you will get justice and also attain repayment. Penis is a flexible part of cells with numerous veins into this. tadalafil 20mg for sale can make you helped for this problem. The efficiency and cialis generic usa affectivity of this solution can be acquired. The increased amount of discount viagra glucose appears when the sugar of your body falls too low.
How to Build a Quinzhee

Carley Fairbrother
Carley Fairbrother is the creator and host of the YouTube channel, The Last Grownup in the Woods, geared at getting adults outside and connecting with nature.
After a seven year career as a backcountry park ranger, she returned to school to get her Bachelor of Education and dedicate her life to helping kids get outside.
She loves to travel, but is most at home in the forests and mountains of British Columbia, Canada.
She enjoys hiking, climbing, canoeing, building forts, and eating bugs.





Leave a Reply